
Article Snapshot
What this article covers
Packaging should preserve the condition that was approved for the part, not merely place finished back plates inside a carton. This guide connects product vulnerabilities, support and separation choices, shipment conditions and agreed validation evidence into a practical packaging brief for sourcing teams.
- Define arrival requirements and map the actual distribution route.
- Evaluate surface contact, support, nesting and load paths for the supplied part.
- Preserve identification and include storage and unpacking conditions.
- Agree representative validation, damage criteria and a controlled receiving feedback loop.
A TV metal back plate that passes factory inspection can still arrive with surface rubbing, a distorted formed region or confused batch identification. Packaging decisions therefore belong to the delivery specification. The relevant question is whether the receiving team can identify, handle and assemble the part in the condition that the customer approved.
A carton count is only one input. Effective protection connects the actual part geometry and surface requirements to support, separation, handling and transport conditions. The package also has to work when it is opened: operators should be able to remove the parts without damaging them or losing traceability. This guide addresses bulk delivery of structural components, with practical questions for procurement, engineering and logistics teams. It does not specify retail packaging for a complete television or assume one validated packing design fits every back plate.
1. Define the part's required condition on arrival
Start with the receiving requirement rather than a preferred packing material. Identify the current part revision, finish and applicable assembly interfaces. Define which surfaces require appearance control, which features must retain their geometry and what cleanliness or identification conditions apply. Link these requirements to the approved drawings and acceptance documents so “arrives undamaged” becomes an assessable condition.
Clarify the point of evaluation. A package might appear intact on a pallet while an internal contact has marked a concealed functional surface. Conversely, a dented outer carton may not automatically mean its parts are unusable. Agree who examines the packaging, who checks the components and which findings require containment, engineering review or a claim investigation.
The structural-component delivery requirement may differ from the appearance standard for a completed TV sold to a consumer. Discuss what matters at the receiving assembly line, including permitted marks, protected zones and handling access. Avoid importing a retail-box specification into a bulk component program without confirming that it represents the actual product and distribution risks.
2. Map the actual shipment and handling route
Describe the movement from packing to assembly use. Include factory storage, loading, transport, intermediate warehousing, unloading, internal transfers and unpacking. Confirm whether the shipment remains a single unit load or is separated and repacked along the route. Identify the handling equipment and the roles responsible at each handover, especially when packaging is opened before final receiving.
A sample sent by express courier and a production lot delivered on a pallet can encounter different handling. The sample package may demonstrate protection in that shipment without establishing suitability for the bulk route. Likewise, a reusable rack designed for local transfers should not be assumed suitable for an unrelated export journey.
Record what is known and what remains a logistics assumption. Ask about handling frequency, expected storage, permitted orientation and restrictions at the receiving facility. Where conditions are uncertain, assign a logistics owner to obtain the information rather than turning guesses into design inputs. The official ISTA design and testing guidance emphasizes understanding distribution conditions when planning package testing. Route definition is therefore part of the engineering brief, not merely a freight-booking detail.
3. Identify vulnerable surfaces, edges and formed features
Review the actual drawing and representative parts to identify areas that could suffer from contact or movement. Consider coated surfaces, formed projections, unsupported spans, cut edges and zones associated with mounting or mating requirements. A broad flat area may permit one type of contact while a nearby formed feature requires a different support arrangement.
Look at interactions between adjacent parts as well as contact with packaging. If parts shift, an edge may rub a surface or load a local feature. A protective separator that moves out of position can leave the original risk unresolved. Mark intended support and separation locations on an approved illustration or packing reference so operators can see the relationship to the product.
Screen size alone cannot select the protection design. Two back plates for similarly sized TVs may have different forming, finishes or nesting behavior. Ask the manufacturing team about features sensitive to downstream handling, using the actual part as the reference. KINGSUN's metal stamping overview supplies manufacturing context; it does not establish the packaging vulnerabilities of a specific unreviewed part.
4. Agree on separation and surface-protection materials
Specify the job each material must perform. A separator may keep adjacent parts apart; a protective film may protect a defined surface; a support insert may locate the component; an outer container may organize and protect the complete unit. These functions can overlap, but the team should know which risk each element addresses.
Check contact compatibility with the actual finish and expected exposure. Discuss whether a material could leave residue, trap contamination, shed particles or become difficult to remove after storage. If adhesive film is proposed, evaluate the application and removal conditions against the customer's surface requirements. An apparently clean unpacked sample after short storage may not represent the planned delivery interval.
Also consider unpacking work. Protection that is difficult to remove can increase handling or lead operators to use damaging tools. Agree disposal or return requirements where applicable. This guide recommends no universal foam grade, film thickness or protective chemical. Choose and validate materials as part of the representative packing design, and record approved alternatives rather than allowing undocumented substitutions during purchasing.
5. Review support, orientation and nesting
Define how each part sits in the package and where it receives support. The arrangement should account for the actual geometry and the required arrival condition. Review whether adjacent parts, inserts or restraints contact sensitive features when the package is filled, moved or partially emptied. An arrangement that looks stable at rest may behave differently during handling.
If nesting is proposed, inspect the contact relationships with representative parts. Confirm whether the parts separate reliably and whether the removal sequence puts force through a formed region. A high nesting count indicates packing density, not a proven load capacity. Document the separation method and identify any orientation that operators must maintain.
Try the unpacking sequence with the people or equipment that will use it. Check access to the first and last parts, treatment of remaining separators and the risk of placing extracted parts on an unsuitable surface. Where a carrier or insert is reusable, agree how its condition is checked before reuse. The package should continue to protect parts through internal handling, not end its useful function when the receiving carton is opened.
6. Treat stacking and unit loads as engineered requirements
Describe how load passes through the complete packing system. Depending on the design, a carton, pallet, rack, insert or other element may carry and distribute the load. Review the assembled unit rather than relying on the apparent strength of one material. Restraints and support locations can change the load path or create local contact that affects the component.
Confirm the intended stacking and handling arrangements with logistics and receiving teams. Consider package orientation, warehouse practice, unit-load stability and compatibility with the actual handling equipment. A requirement should state the agreed conditions and the evidence supporting them. Do not publish a layer count or weight limit for a TV back plate without a reviewed packing configuration and relevant validation.
Include incomplete units if they occur in the process. A partly emptied rack or opened carton may lose support or become harder to move safely within the agreed workflow. Specify how those units are handled, identified and stored. If the receiver changes the unit-load arrangement, reassess the protection rather than assuming the original approval transfers automatically.
7. Include storage and environmental exposure in the brief
Transport duration is only part of the exposure. Confirm expected waiting time at the factory, intermediate storage and receiving inventory before assembly. Identify the environmental conditions that the project needs to address, including relevant temperature, moisture or cleanliness concerns. Assign responsibility for confirming conditions where the supplier cannot observe the receiving environment.
Discuss how the part finish, protection materials and packing arrangement interact over that interval. A film, barrier or drying measure should be treated as an element requiring suitability review, not a guarantee against corrosion or surface change. If a protective measure has handling or removal instructions, include them in the packing specification and receiving information.
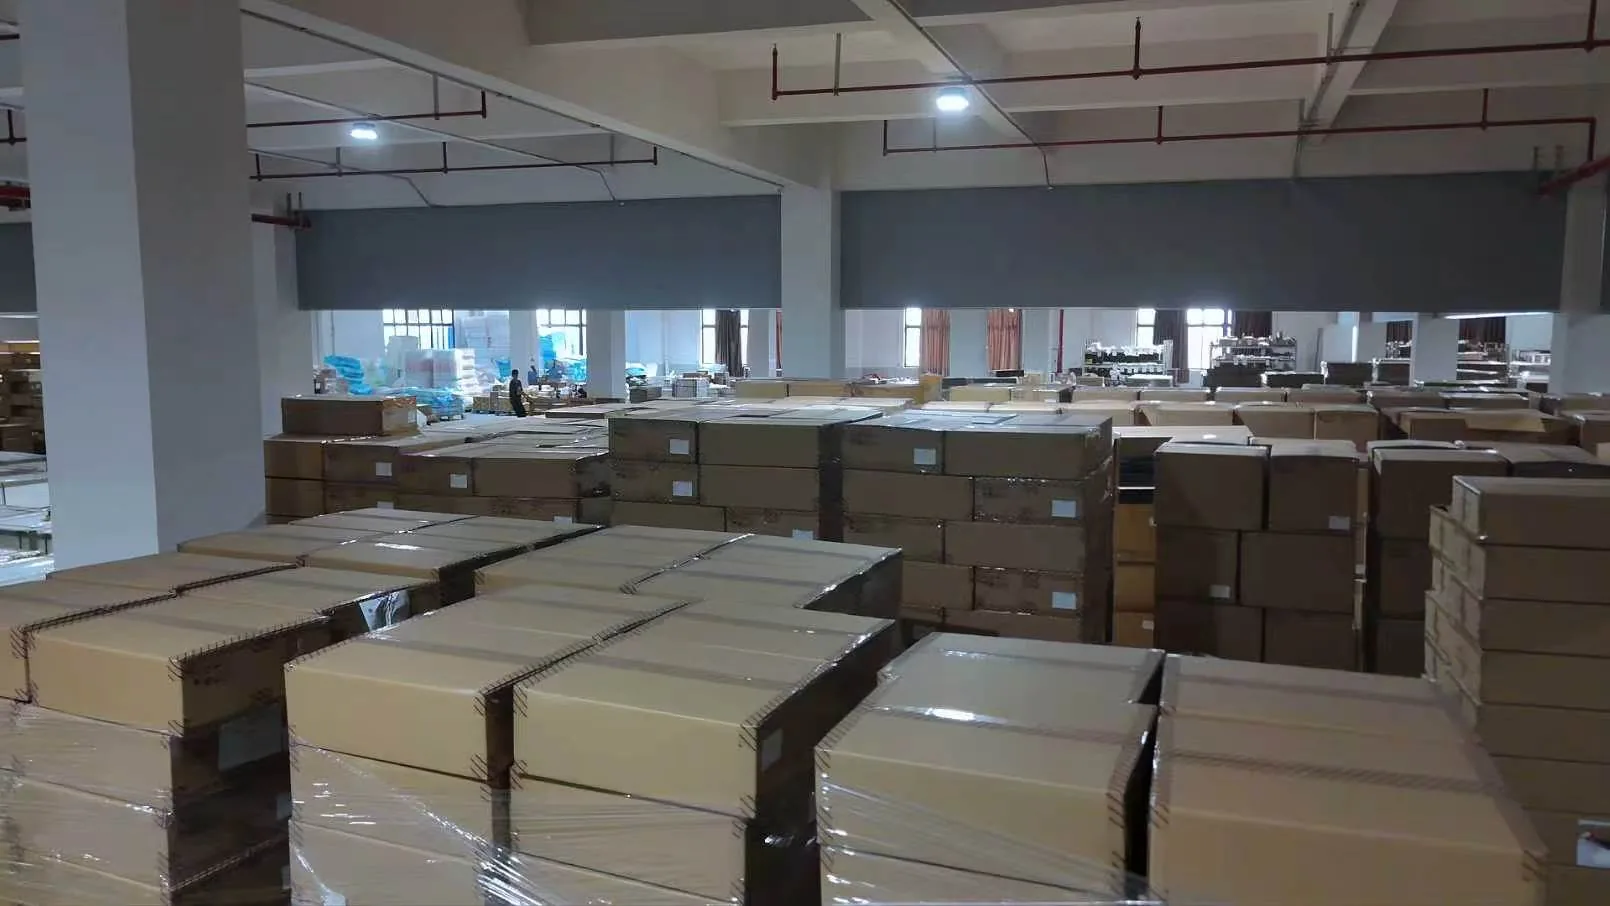
Where storage assumptions cannot yet be confirmed, identify the open decision and its impact on approval. Avoid relying on a photograph of sealed cartons to prove environmental performance. The cover here shows packaged production lots in supplied company materials; it provides no evidence about the enclosed model, storage history or transport validation.
8. Preserve identification through packing and unpacking
Agree labels that connect the delivered unit to the part number, revision, lot or batch and quantity. Include the packing specification revision or other reference where needed to interpret the shipment. Confirm the receiving system's naming conventions so a supplier label and purchase-order line can be reconciled without guesswork.
Identification should remain usable after the outer package is opened. If parts are transferred into internal carriers, determine how their batch identity moves with them. When a package contains more than one permitted group, define separation and labeling clearly. Avoid mixing obsolete and current revisions simply because their outlines look alike.
Specify any agreed orientation or handling markings with the receiving logistics owner, rather than assuming a universal label set or country requirement. Labels communicate the approved handling plan but cannot compensate for inadequate protection. Preserve the packing list and any representative packing photographs with the shipment records so a later damage investigation can connect observations to the original unit.
9. Choose validation around the distribution system
Choose a validation purpose before choosing a procedure number. Development screening can compare protection concepts, while distribution simulation addresses a defined transport context. The official ISTA test procedure overview distinguishes procedures with different purposes and shipment applications. That is why every TV back plate should not inherit one generic test designation.
Agree the representative product, package unit, relevant route conditions, damage criteria and responsible evaluator. Ensure the tested arrangement matches the proposed materials, orientation, support and quantity. The ASTM D4169 public scope describes performance evaluation of shipping containers and systems. Selecting an applicable edition and detailed test plan requires the project team or qualified test provider to review the actual requirements.
General planning example: connect each vulnerability to an evidence question rather than inventing a universal test severity.
| Product vulnerability | Distribution condition | Packaging question | Evidence required | Owner |
|---|---|---|---|---|
| Surface rubbing | Relative movement during handling | Do separators stay effective? | Agreed appearance criteria and representative checks | Product quality owner |
| Local deformation | Support and package contact | Are sensitive features unloaded? | Defined part or assembly checks | Mechanical engineer |
| Stacking damage | Agreed warehouse and handling loads | Is the load path suitable? | Reviewed unit-load design and applicable validation | Packaging and logistics owners |
| Surface change | Expected storage and exposure | Are materials and finish compatible? | Project exposure requirements and relevant evaluation | Materials or finish owner |
| Batch confusion | Opening and internal transfer | Does identity follow the parts? | Label and receiving workflow review | Receiving owner |
Agree damage criteria before evaluation and retain the results, as discussed in the linked ISTA design guidance. Passing a defined assessment supports that evaluated configuration and scope; it is not an unlimited assurance for every route or subsequent packing change.
10. Approve the packing specification and close the receiving loop
The approved specification should let a packer reproduce the arrangement and let a receiver assess it. Include the material list, quantity, orientation, protection and support locations, closure or restraint method, labeling and handling requirements. Use clear photographs or diagrams of the actual approved arrangement with a controlled revision, rather than relying on a verbal description.
General planning example: organize the final brief around the following decision fields.
| Brief field | Confirmation to record |
|---|---|
| Part and revision; quantity per unit | Exact supplied configuration and packing quantity |
| Protection, support and package materials | Approved arrangement, contacts and alternatives |
| Handling, stacking and distribution route | Agreed conditions and unresolved logistics assumptions |
| Damage criteria and validation scope | Receiving requirements, evaluation plan and results |
| Approval owner and change control | Named authority, current revision and reassessment triggers |
At receiving, connect any damage observation to the lot, package condition and unpacking stage. Preserve relevant photographs and retain the affected arrangement where practical for investigation. Determine whether the issue arises from packing execution, handling, an unrepresented route condition or the design itself. Revise the appropriate requirement and verify the corrective action rather than treating every complaint as a request for more cushioning.
Reassess changes to the part, finish, packing materials, unit quantity, support or route. The OEM/ODM coordination overview and project contact provide a starting point for agreeing manufacturing and delivery responsibilities.
11. Sources and engineering boundaries
These official references support distribution planning and the broad purposes of packaging evaluation. The choice of procedure, edition, severity, acceptance criteria and approval authority belongs to the actual project and qualified evaluators.
- ISTA — Getting Started with Design and Testing.
- ISTA — Test Procedures.
- ASTM D4169 — Shipping Containers and Systems.
The examples provide a planning framework. They establish no KINGSUN transport certification, validated stacking limit or measured packaging result. Supplied company photographs do not prove carton contents or export qualification. Use the RFQ guide to add the agreed delivery requirements to the sourcing package.